How to Build a PC: A Complete Step-by-Step Guide for Beginners
Building your own PC is one of the most rewarding technology projects you can undertake. While many people purchase pre-built computers, a custom-built PC allows you to select the exact components that match your needs and budget. Moreover, building a PC helps you understand how computer hardware works, making future upgrades and troubleshooting much easier.

Whether you need a desktop for office work, programming, graphic design, or gaming, a custom PC can help.

It can deliver the performance and flexibility you need. Furthermore, modern PC components are more user-friendly than ever. This means even beginners can build a computer with proper guidance.

In this step-by-step guide, you will learn how to build a PC. You will also learn how to choose compatible parts. You will learn how to assemble the hardware. You will also learn how to avoid common mistakes.

Why Build Your Own PC?

Many people wonder whether building a PC is better than buying a pre-built system. While both options have advantages, a custom-built PC offers several important benefits.

Better Value for Money

When you build a PC, you control where your budget is spent. Therefore, you can prioritize components that matter most for your workload. As a result, you often get better performance compared to similarly priced pre-built computers.

Customization

Every user has different requirements. For example, a programmer may focus on RAM and CPU speed, while a video editor may need a strong graphics card. Consequently, building a PC allows you to customize every component according to your needs.

Easy Upgrades

Unlike many pre-built systems, custom PCs are easier to upgrade. Moreover, replacing individual components is generally simpler and more affordable than purchasing an entirely new computer.

Better Understanding of Hardware

Building a PC teaches you how components work together. Therefore, future maintenance, upgrades, and troubleshooting become much easier.

Components Required to Build a PC

Before starting the assembly process, you need to understand the purpose of each component.

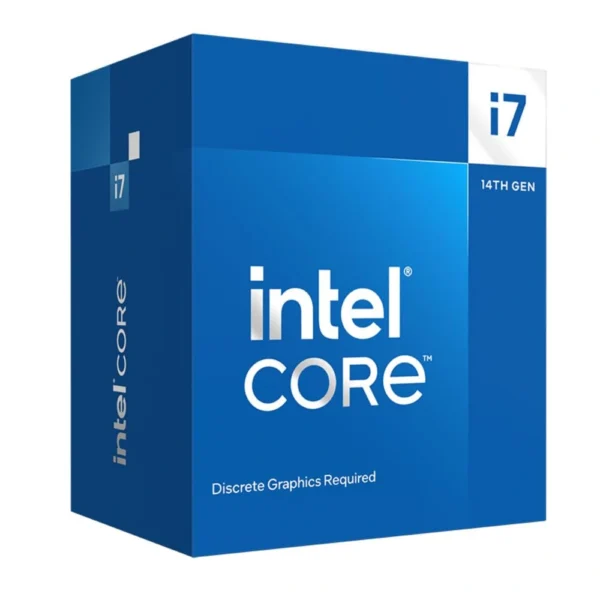
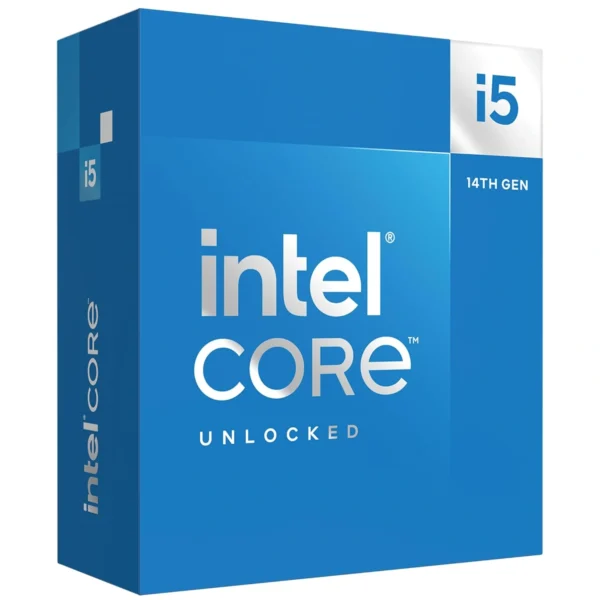
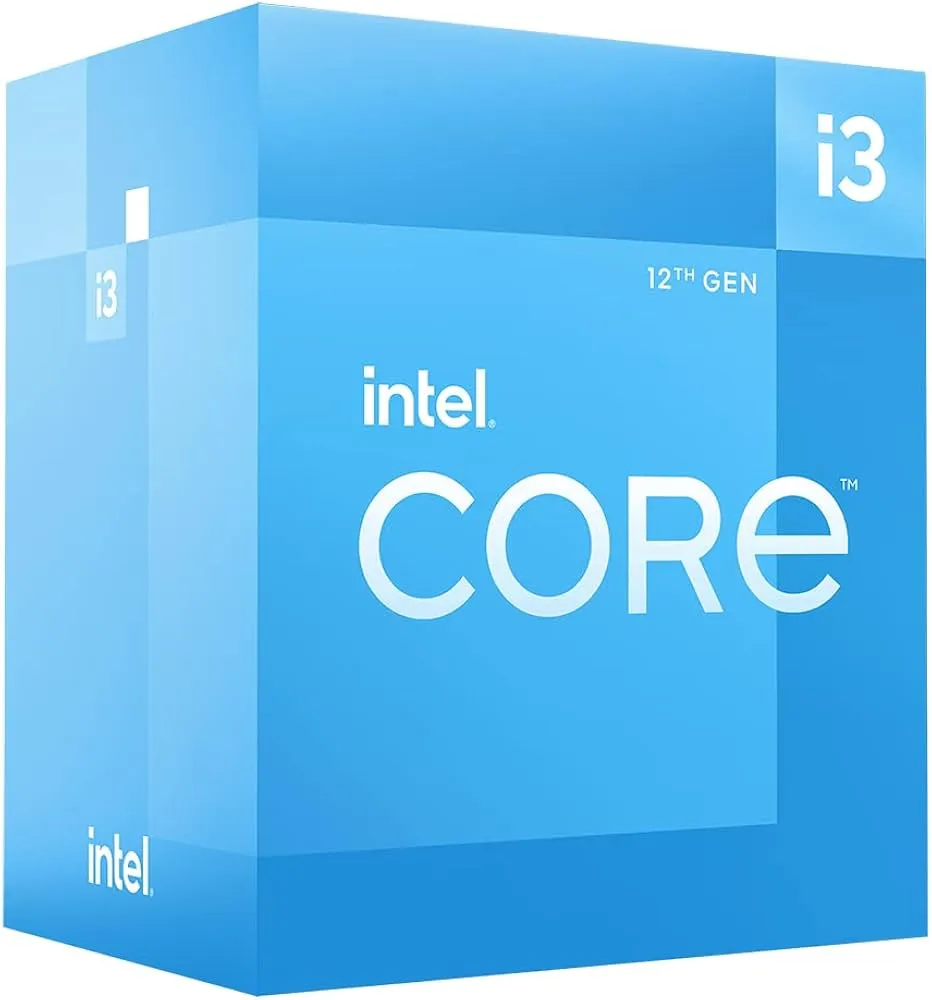
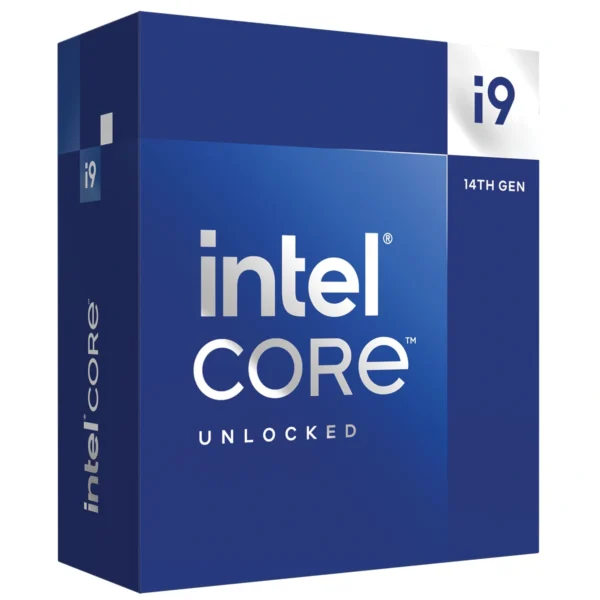
The processor is the brain of your computer. It handles calculations, runs applications, and manages system operations.

Popular processor options include:

For most users, Intel Core i5 and Intel Core i7 processors provide an excellent balance between performance and affordability. Furthermore, these processors handle multitasking, productivity applications, and business workloads efficiently.

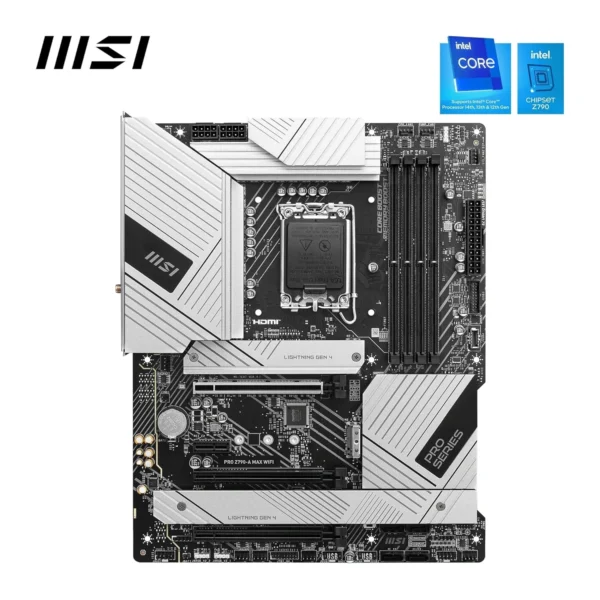
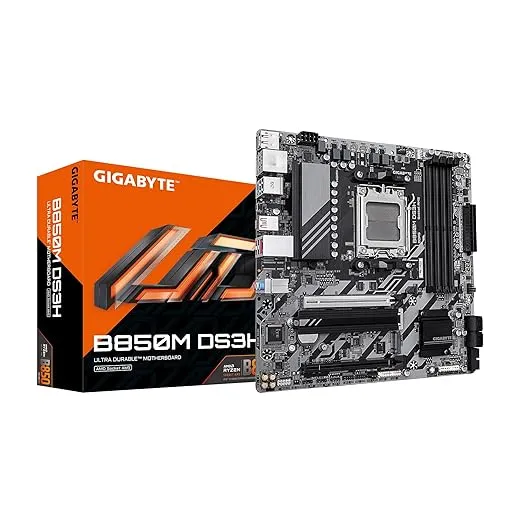
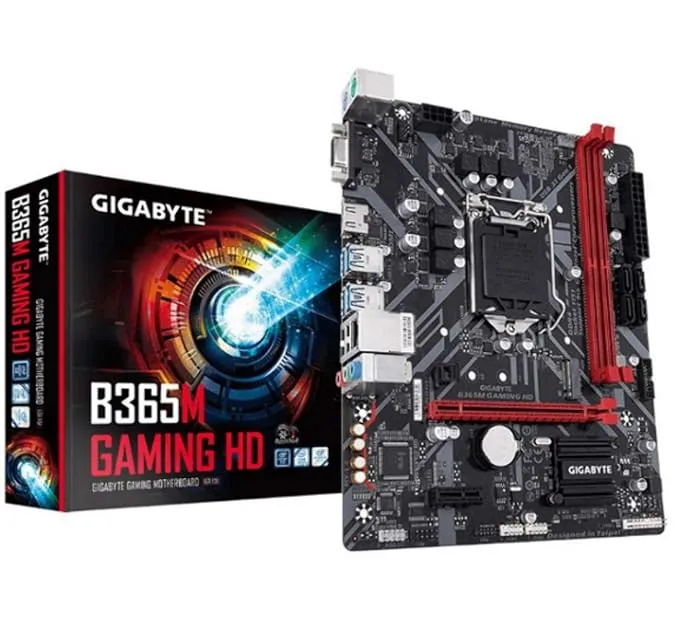
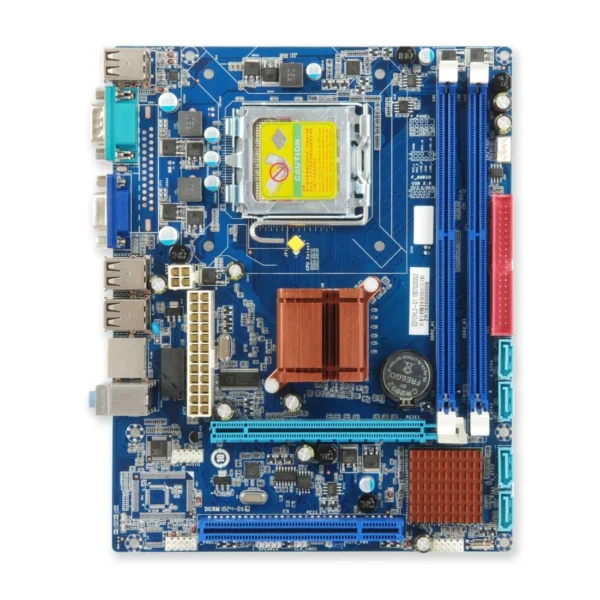
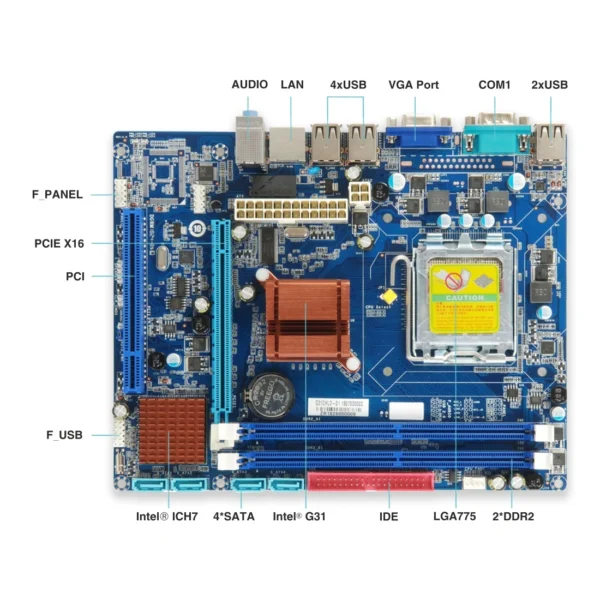
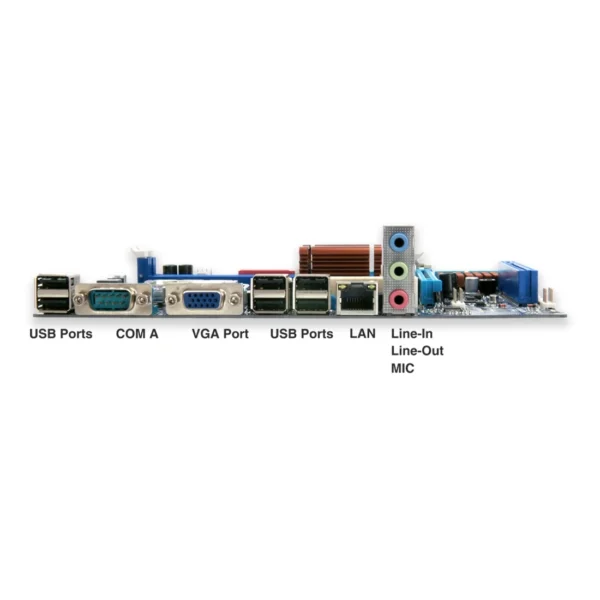
The motherboard connects all computer components. Therefore, choosing a compatible motherboard is one of the most important decisions in any PC build.

Before purchasing a motherboard, verify compatibility with:

  • Processor socket type
  • RAM generation
  • Storage interfaces
  • Expansion requirements

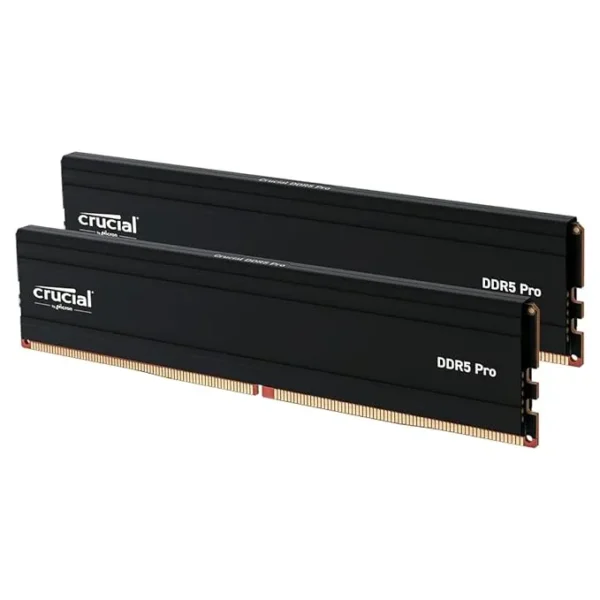
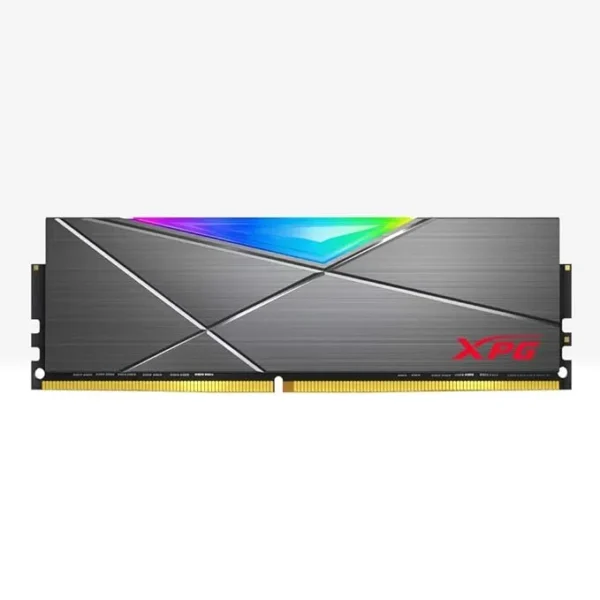
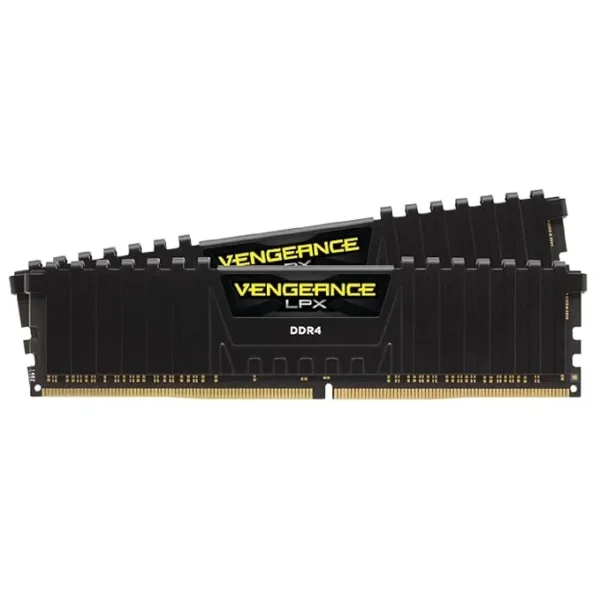
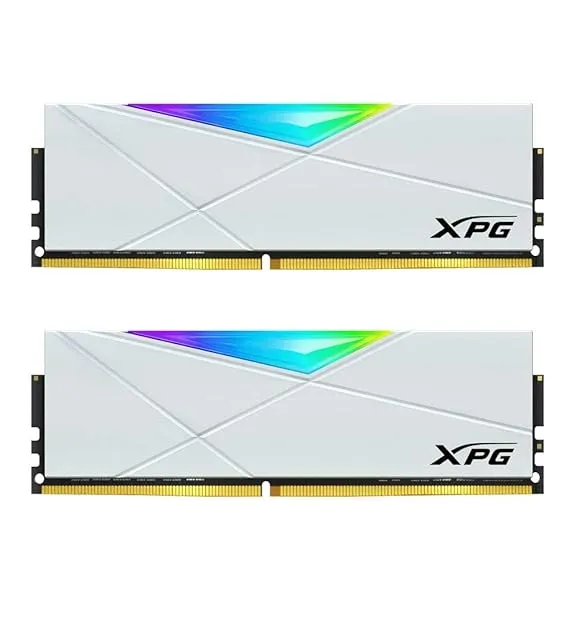
RAM helps your computer manage multiple applications simultaneously.

Recommended RAM configurations include:

UsageRecommended RAMBasic Computing8GBOffice Work16GBProgramming16GBGraphic Design16GB–32GBVideo Editing32GB

Additionally, higher RAM capacity can significantly improve multitasking performance.

Storage devices hold your operating system, applications, and files.

Modern PC builders generally choose SSD storage because it offers:

  • Faster boot times
  • Faster file transfers
  • Improved responsiveness
  • Better application performance

Consequently, SSDs have become the preferred storage solution for modern desktops.

1TB EVM 2.5-inch SSD for laptop and desktop with SATA interface for faster boot, improved load times, and reliable storage

1TB 2.5-inch SSD for Laptop/Desktop (EVM Brand)

Original price was: ₹15,999.Current price is: ₹10,382. Incl. 18% GST
In Stock
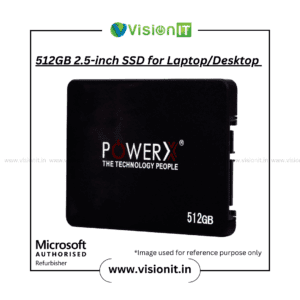
Buy 512GB 2.5-inch SSD – High-Speed Storage for Laptops & Desktops

512GB 2.5-inch SSD for Laptop/Desktop

Original price was: ₹6,999.Current price is: ₹5,187. Incl. 18% GST
In Stock
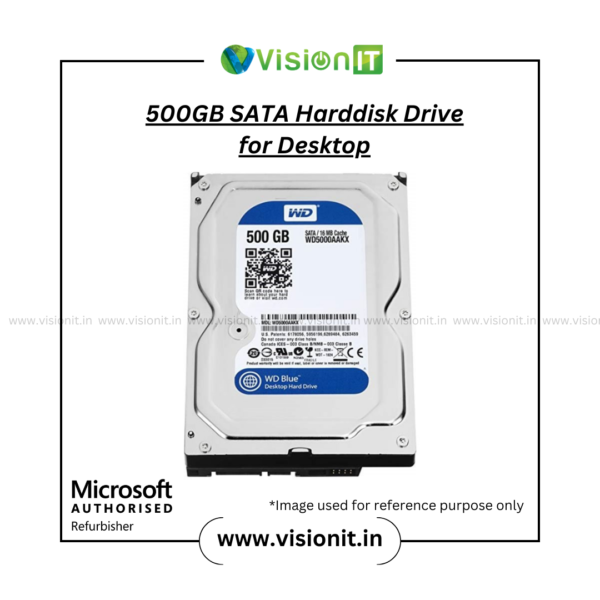
Best 500GB SATA Harddisk Desktop – Reliable Storage for Desktops

500GB SATA Harddisk Drive for Desktop

Original price was: ₹3,499.Current price is: ₹2,394. Incl. 18% GST
In Stock
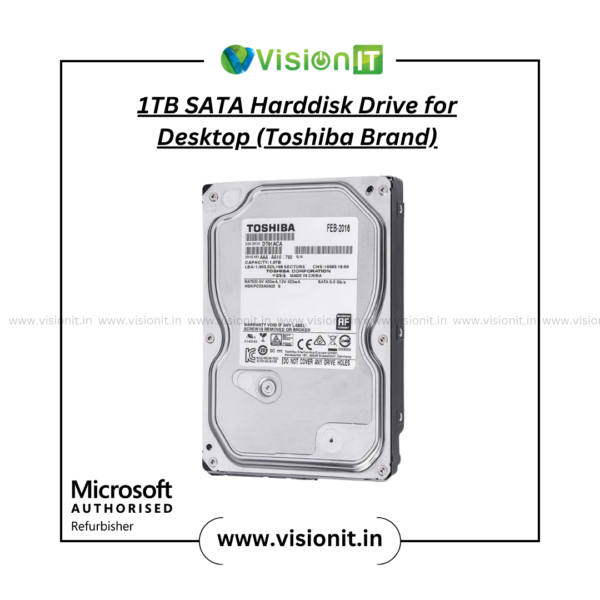
Toshiba 1TB SATA hard drive for desktop storage

1TB SATA Harddisk Drive for Desktop (Toshiba Brand)

Original price was: ₹6,499.Current price is: ₹5,453. Incl. 18% GST
In Stock
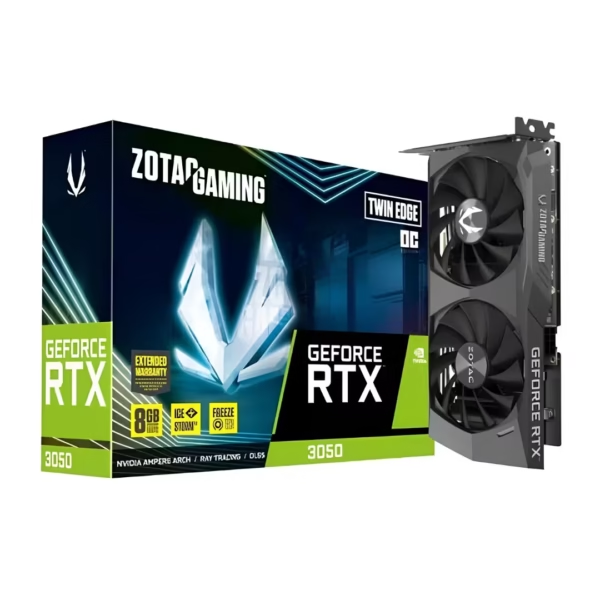
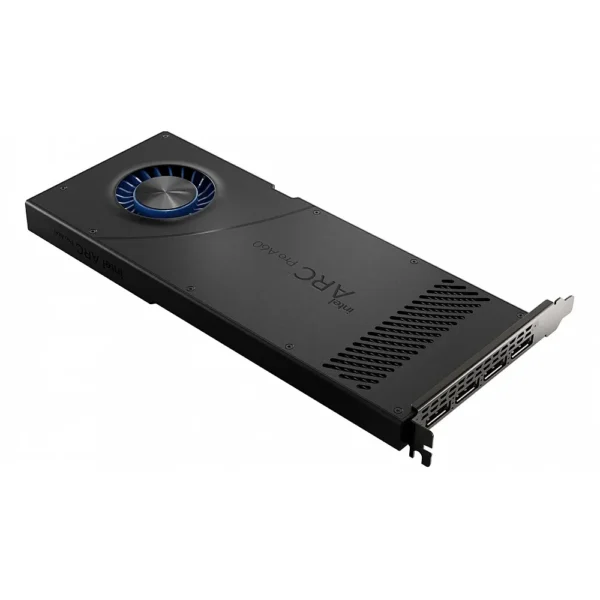
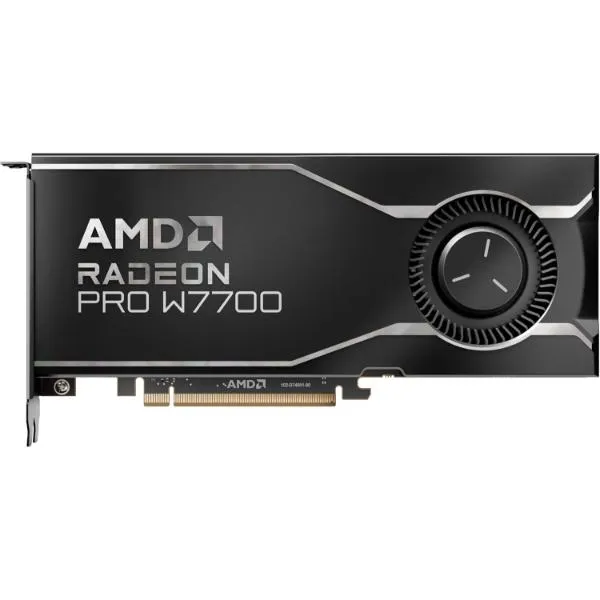
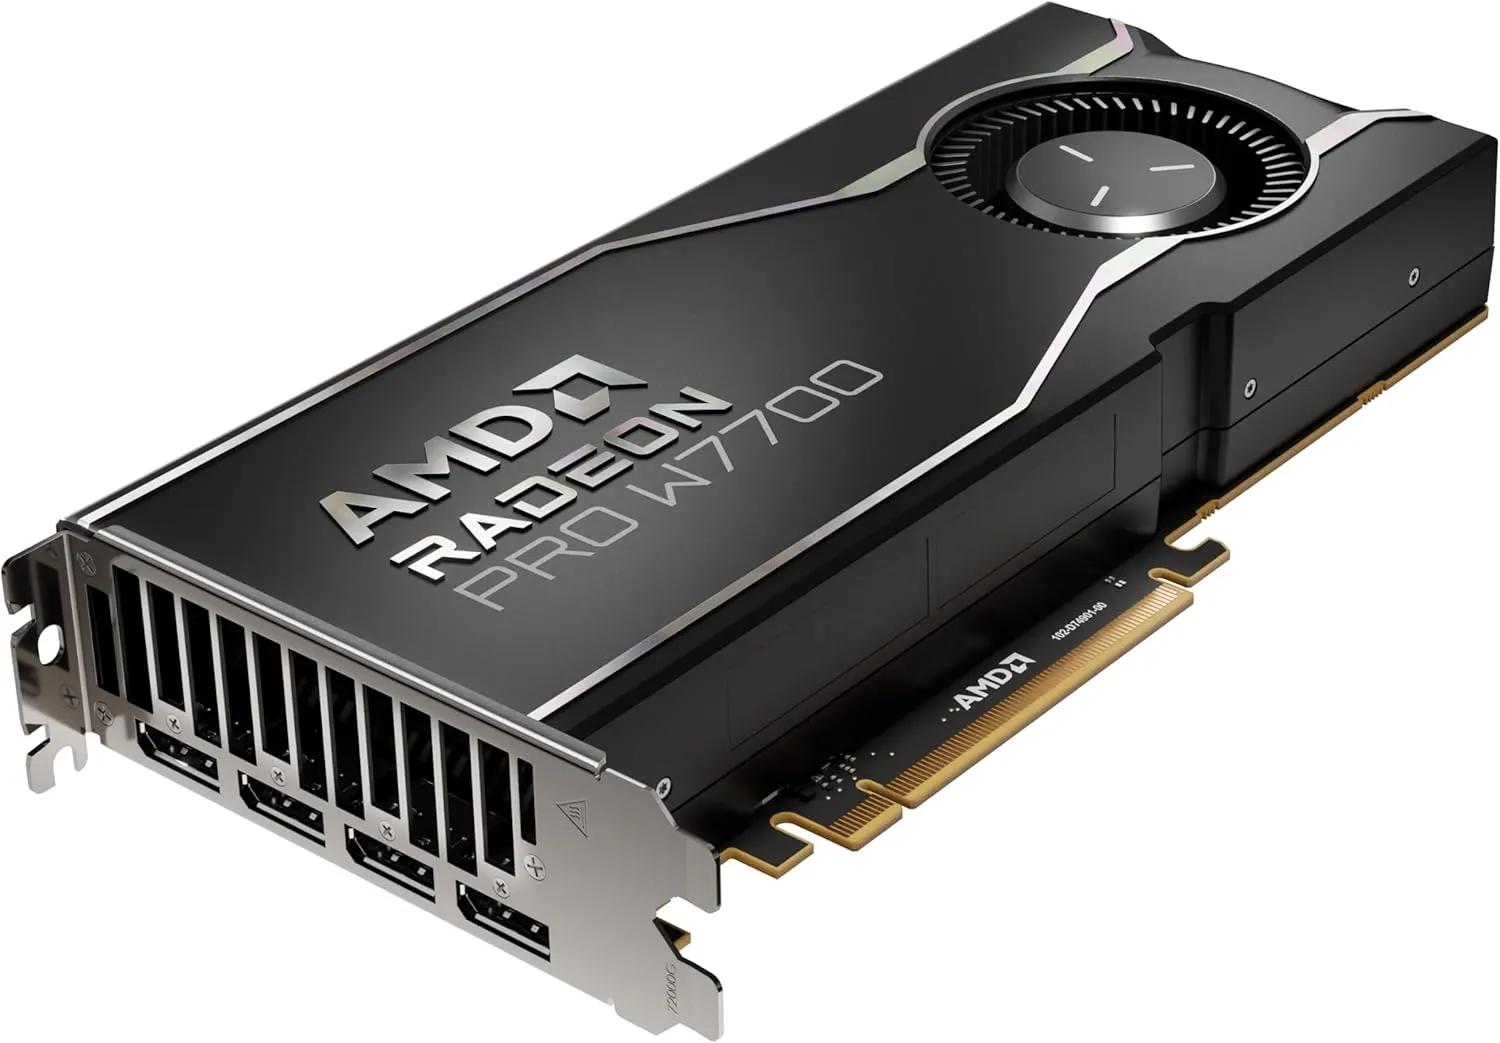
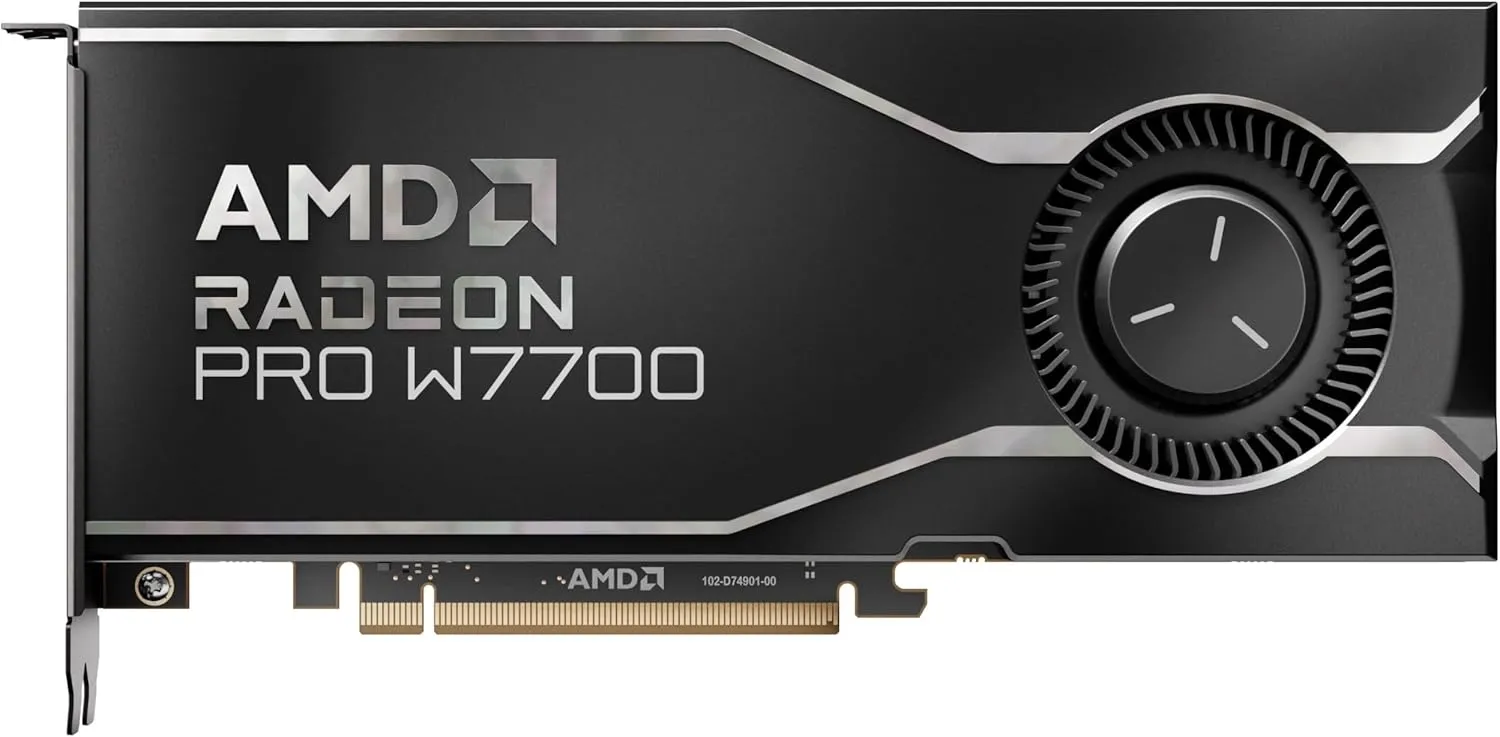
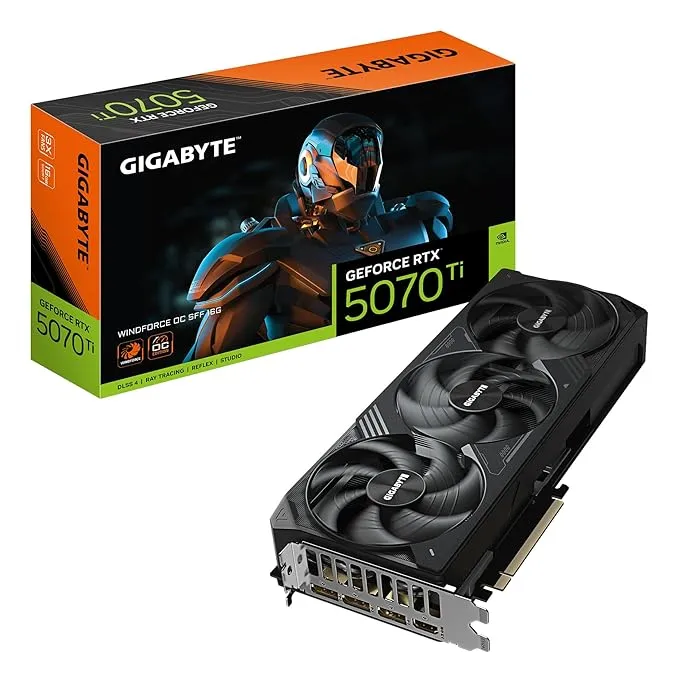
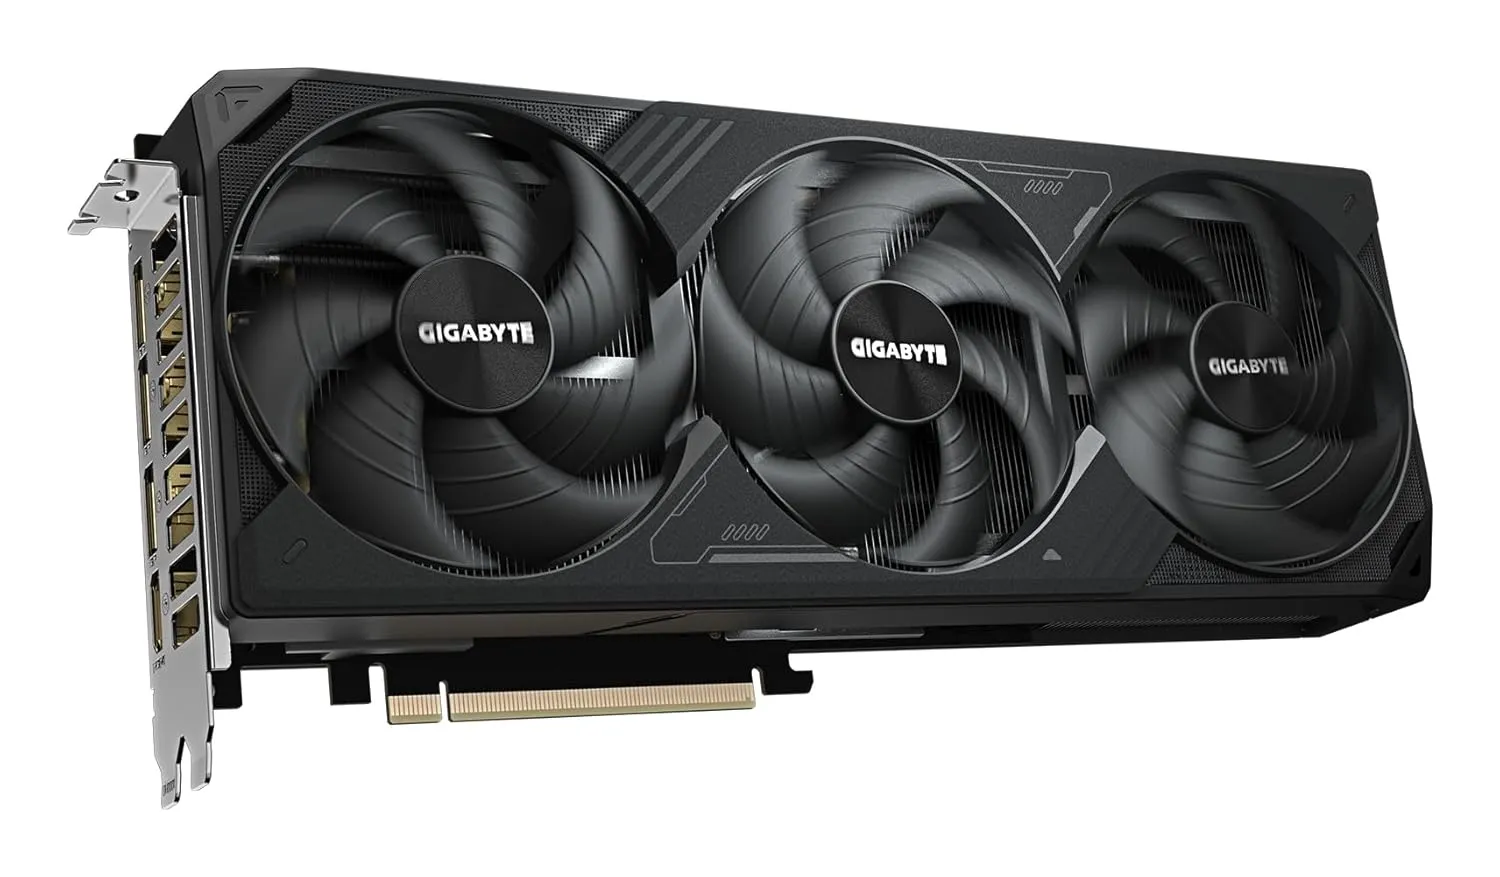
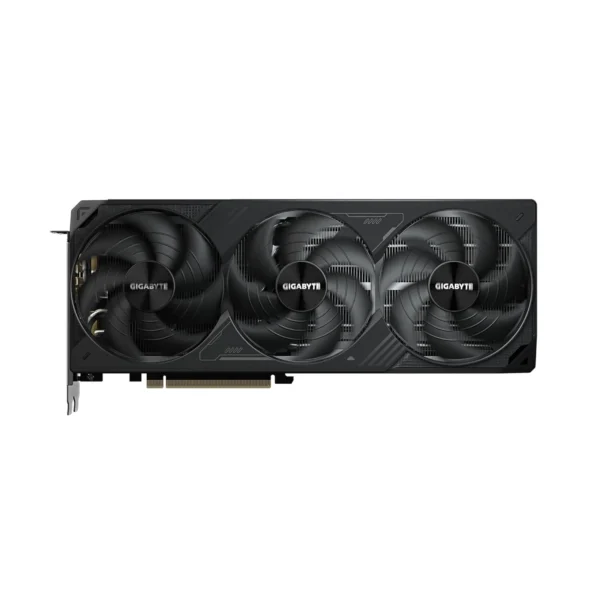
A dedicated graphics card is essential for:

  • Gaming
  • Video editing
  • 3D rendering
  • Animation
  • Engineering applications

However, office users and students may not require a dedicated GPU because many processors include integrated graphics.

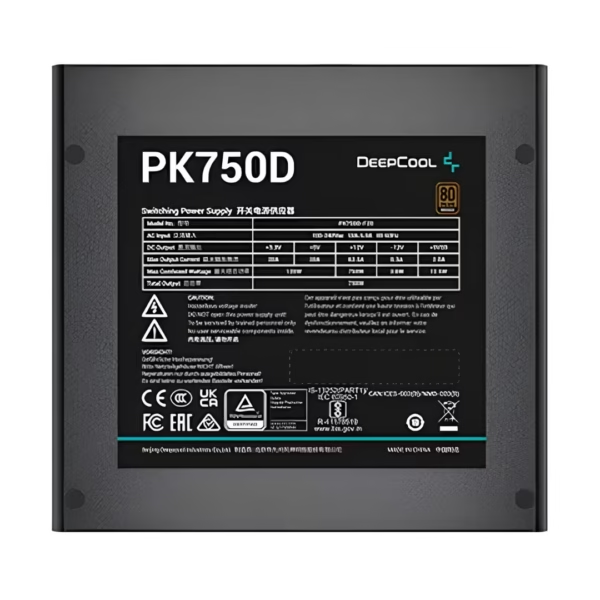
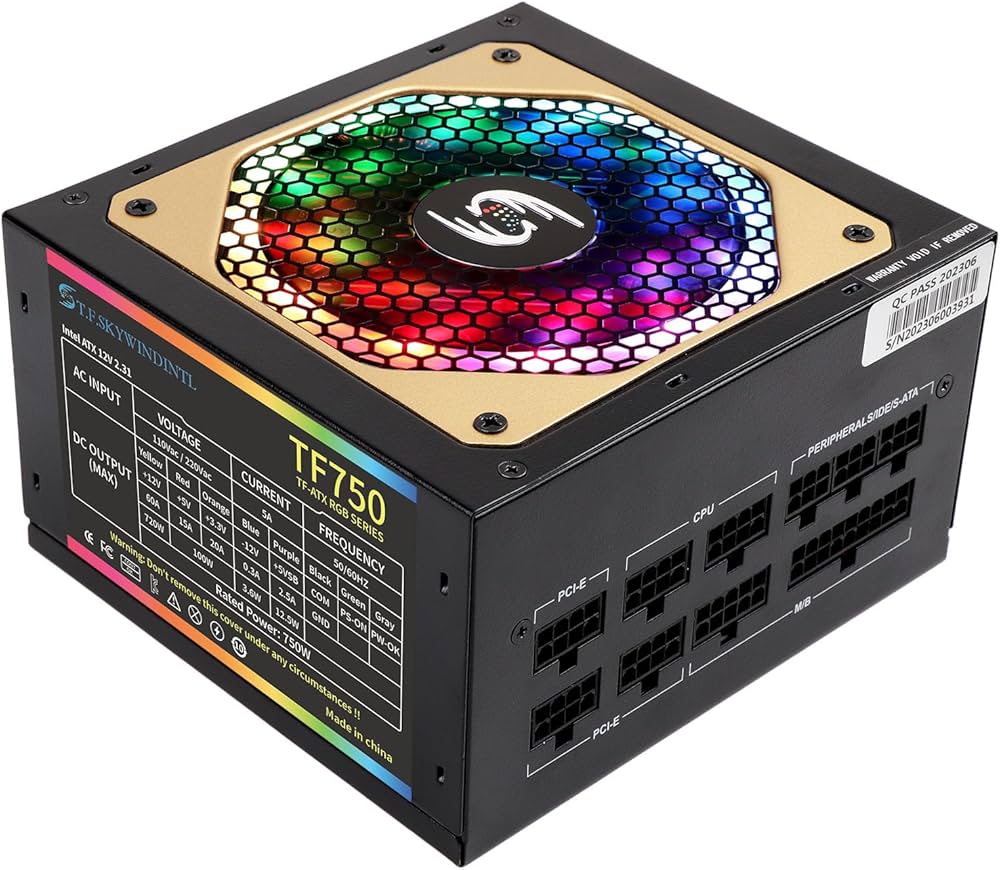
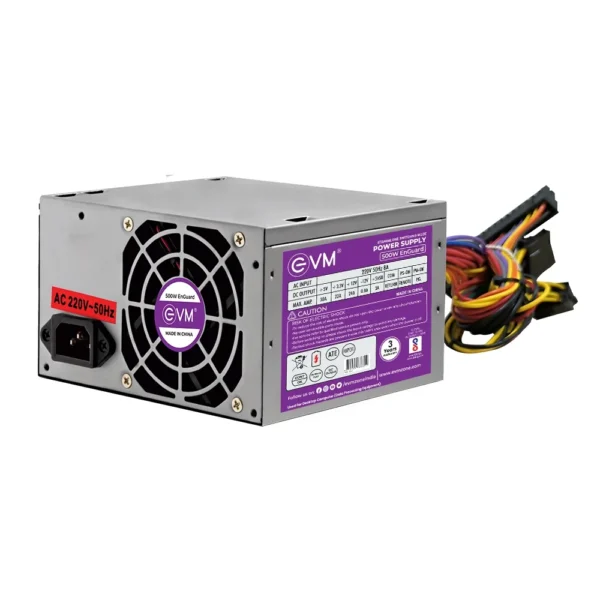
The PSU supplies power to every component inside your computer.

Therefore, choosing a reliable power supply is critical. A low-quality PSU can cause instability, hardware failures, and reduced system lifespan.

Step 1: Install the Processor

Begin by placing the motherboard on a non-conductive surface.

Next, locate the CPU socket and carefully open the retention mechanism. Then align the processor correctly using the alignment markers.

Afterward, gently place the CPU into the socket and secure the retention lever.

Importantly, never force the processor into place because it should fit naturally when aligned correctly.

Step 2: Install the CPU Cooler

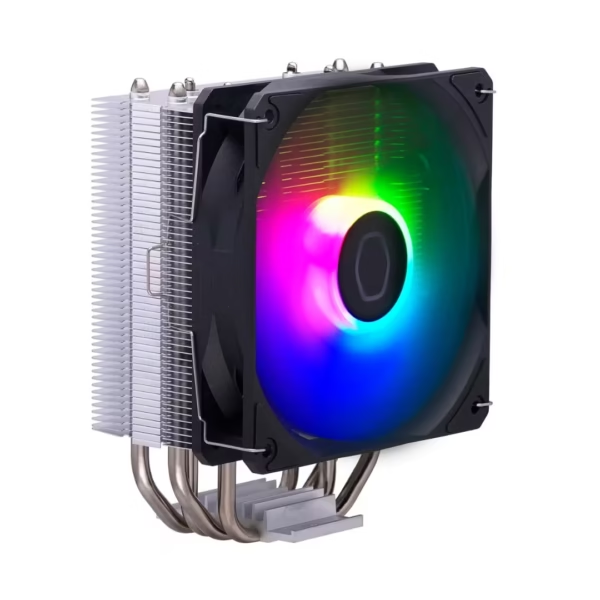
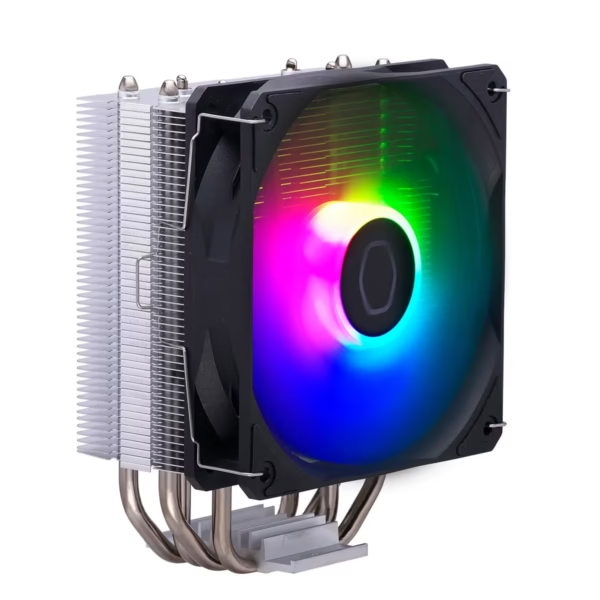
Processors generate heat during operation. Therefore, a cooling solution is essential.

Many CPUs include stock coolers. However, high-performance systems often benefit from aftermarket cooling solutions.

After installing the cooler, verify that it is firmly secured to ensure proper heat transfer.

Step 3: Install RAM

Locate the RAM slots on the motherboard.

Next:

  1. Open the retaining clips.
  2. Align the RAM notch correctly.
  3. Press firmly until the clips lock.

Because improperly installed RAM is a common issue, double-check that every module is fully seated.

Step 4: Install SSD Storage

Modern SSDs are available in:

  • SATA format
  • NVMe format

NVMe SSDs generally provide faster performance. Therefore, many builders prefer them for operating systems and frequently used applications.

After inserting the SSD, secure it properly using the supplied screw.

Step 5: Prepare the Cabinet

Remove both side panels and inspect the interior.

Then verify:

  • Motherboard standoffs
  • Fan placement
  • Cable routing paths

Proper preparation simplifies the assembly process significantly.

Step 6: Install the Motherboard

Carefully position the motherboard inside the cabinet.

Next, align it with:

  • Rear I/O shield
  • Mounting holes
  • Standoffs

Then secure the motherboard using the provided screws.

However, avoid overtightening because excessive pressure may damage the board.

Step 7: Install the Power Supply

Position the power supply according to your cabinet design.

Most modern cabinets place the PSU at the bottom. Therefore, ensure the fan orientation matches the airflow design of the case.

Afterward, secure the PSU using the provided mounting screws.

Step 8: Connect Power Cables

Now connect:

  • 24-pin motherboard cable
  • CPU power connector
  • SSD power cables
  • Graphics card power connectors

Because incorrect cable connections can prevent startup, verify every connection carefully.

Step 9: Install the Graphics Card

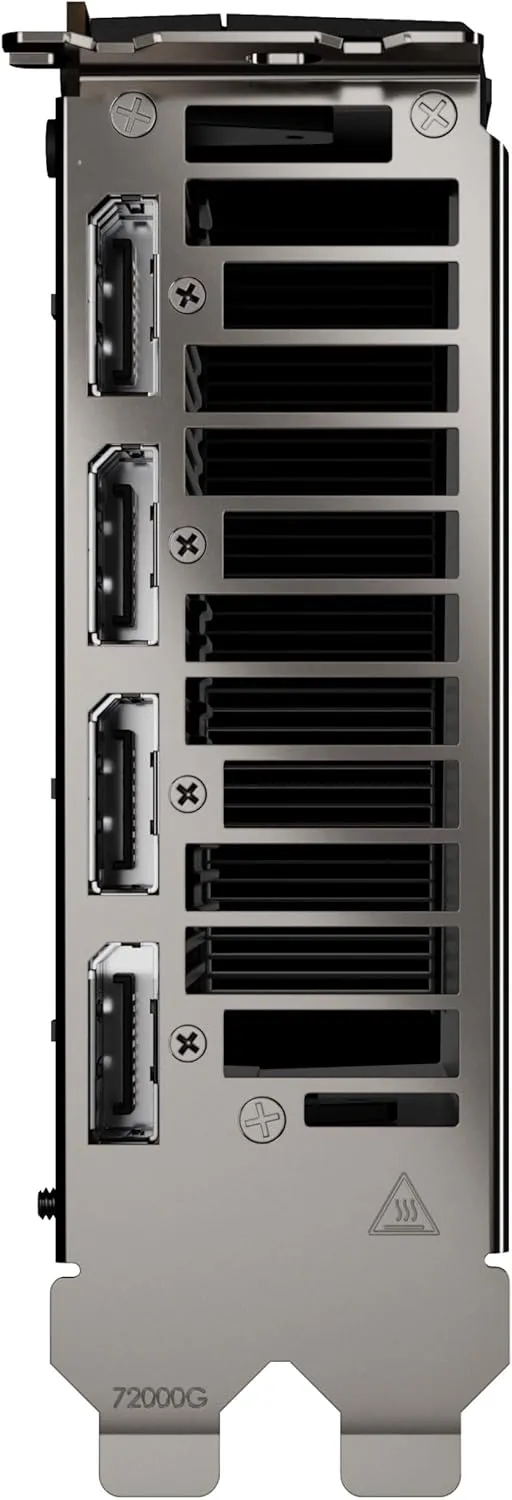
If your build includes a dedicated GPU, remove the required expansion slot covers.

Next:

  1. Insert the graphics card into the PCIe slot.
  2. Secure it using screws.
  3. Connect power cables if required.

Finally, verify that the card is fully seated.

Step 10: Connect Front Panel Cables

Front panel connectors manage:

  • Power button
  • Reset button
  • USB ports
  • Audio ports

Although these connectors can appear confusing initially, your motherboard manual provides the correct layout.

Therefore, follow the manual carefully.

Step 11: Organize Cables

Good cable management improves:

  • Airflow
  • Cooling efficiency
  • Maintenance access
  • Overall appearance

Additionally, organized cables reduce airflow obstructions.

Step 12: Perform the First Boot

Before closing the cabinet:

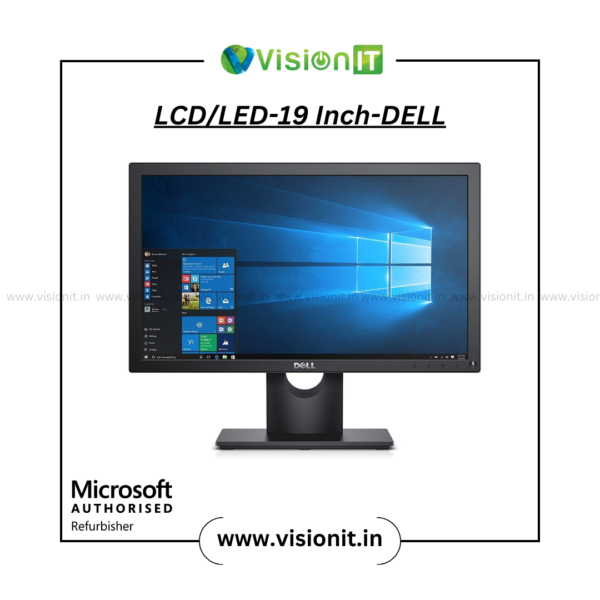
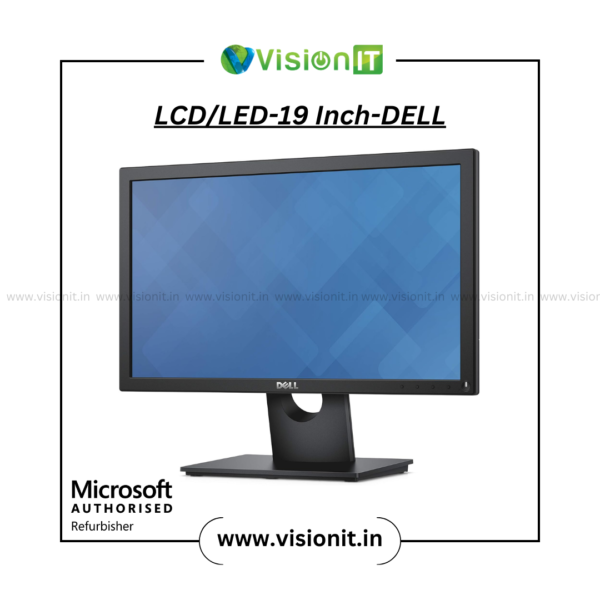
  • Connect monitor
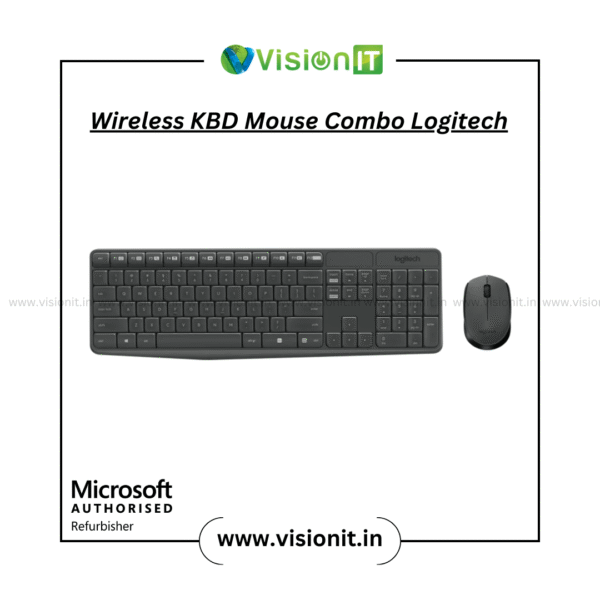
  • Connect keyboard
  • Connect power cable

Then power on the system.

If everything is installed correctly, the computer should boot successfully.

Step 13: Access BIOS

After the system starts, enter BIOS.

Then verify:

  • Processor detection
  • RAM detection
  • Storage detection
  • Fan operation

As a result, you can confirm that all major components are functioning correctly.

Step 14: Install Windows and Drivers

Once hardware verification is complete, install Windows.

Furthermore, install the latest drivers for:

  • Motherboard
  • Graphics card
  • Network devices
  • Storage controllers

Keeping drivers updated improves performance and stability.

Frequently Asked Questions

Is building a PC difficult?

No. Modern PC components are designed to be user-friendly. Therefore, beginners can successfully build a PC by following proper instructions.

How long does it take to build a PC?

Most first-time builders complete the process within two to four hours.

Is building a PC cheaper than buying one?

In many cases, yes. Because you control component selection, you can often achieve better value.

Do I need a graphics card?

Not necessarily. Many processors include integrated graphics suitable for office work, education, and general productivity.

What is the most important component in a PC?

The processor, RAM, SSD, and power supply all play critical roles in overall system performance.

Conclusion

Building a PC is an excellent way to create a computer that matches your exact requirements. Moreover, it provides flexibility, customization, and future upgrade opportunities. By selecting compatible components and following proper assembly procedures, even beginners can build reliable and powerful desktop systems.